

How to Connect Your Projector to a Computer?
Connecting a projector to a computer is a common practice. In this guide, we will introduce three methods to connect a projector to a computer.
Method 1: HDMI Connection
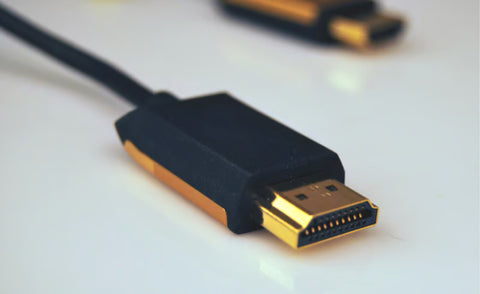
Step 1: Plug one end of the HDMI cable into the HDMI port of your computer.
Step 2: Plug the other end of the HDMI cable into the HDMI port of the projector.
Step 3: The projector will automatically detect the signal from the computer and display the content on the computer screen. To explore additional display options, you can press the "Windows + P" keys.
Method 2: VGA Connection

Step 1: Plug the VGA cable into the VGA port of your computer.
Step 2: Plug the other end of the VGA cable into the VGA port of the projector.
Step 3: Connect the audio output interface of the computer to the audio input interface of the projector, then it can transmit the audio signal.
Method 3: Wireless Connection

This method is suitable for projectors with wireless mirroring functions.
Step 1: Make sure your computer and the projector are connected to the same Wi-Fi network.
Step 2: Enable Wireless Mirroring on the projector.
Step 3: Enable Wireless Mirroring/Casting on your computer. For example, on Windows 10, you can use the "Cast Screen" feature, or on macOS, you can use the "AirPlay" feature.
Step 4: Select the computer’s wireless signal on the projector and connect. Please select the right input signal on the projector. Besides, ensure the output mode is supported on the projector.
Note: The availability of these connection methods may vary depending on the specific projector and computer models.
By following these simple steps, you can easily connect your projector to a computer and enjoy an enhanced visual experience.
